How to Build a Dog Ramp for a High Bed: A Step-by-Step Guide
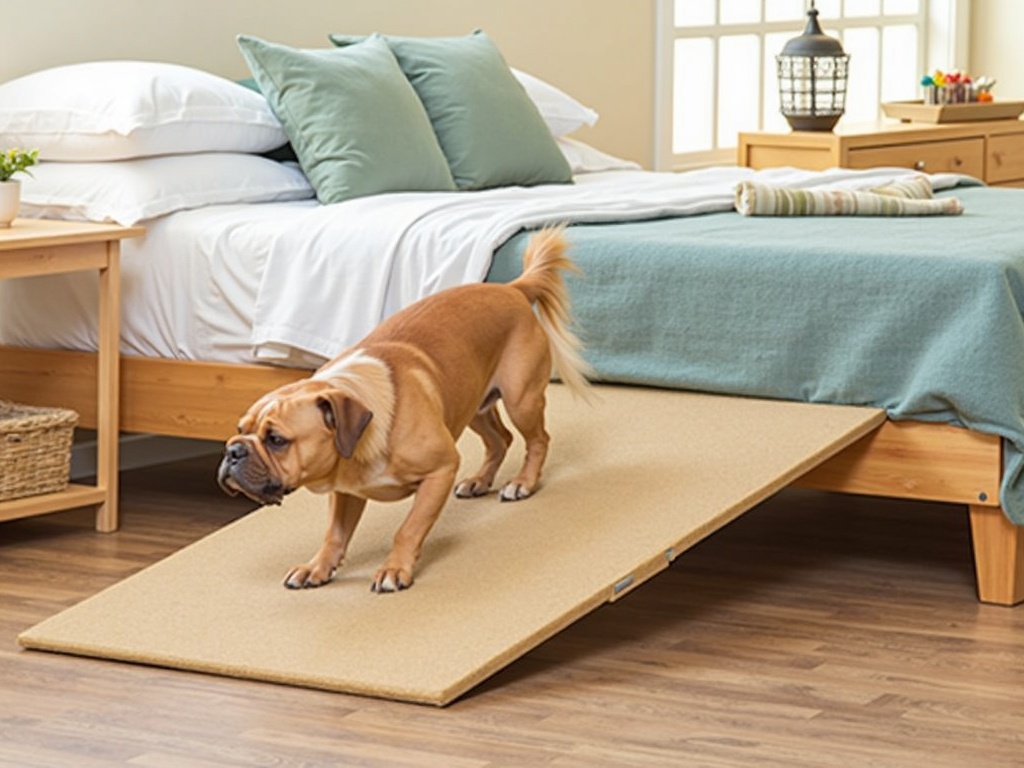
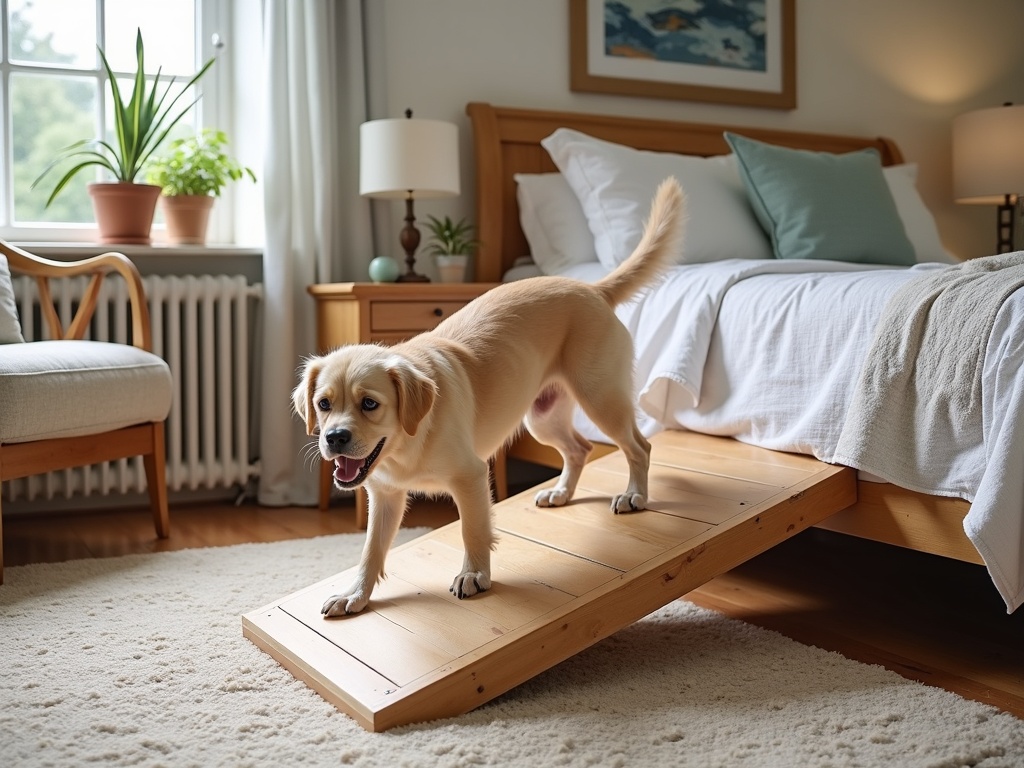
Does your furry friend struggle to hop onto your high bed? Do you wince every time they make that leap, worrying about their joints? You're not alone. Many dog owners face this challenge, especially with smaller breeds, older dogs, or those with mobility issues. The good news is there's a simple, cost-effective solution: building a dog ramp. Not only will it protect your dog's physical well-being, but it will also give them the independence and comfort they deserve. This comprehensive guide will walk you through the process, from planning to construction, ensuring a safe and stylish ramp that seamlessly integrates into your home.
Why Build a Dog Ramp? The Benefits Unveiled
Before we dive into the how, let's explore the why. A dog ramp isn't just a convenience; it's an investment in your dog's health and quality of life. Here's why:
- Joint Protection: Jumping on and off high surfaces puts significant stress on your dog's joints, especially their hips, knees, and back. Over time, this can lead to arthritis, hip dysplasia, and other painful conditions. A ramp eliminates this impact, allowing for a gradual and gentle climb.
- Suitable for All Ages and Sizes: While puppies and small breeds are particularly vulnerable, dogs of all ages and sizes can benefit from a ramp. Older dogs with existing joint problems will find it invaluable, and even younger, larger dogs can prevent future problems.
- Independence and Confidence: A ramp allows your dog to access their favorite sleeping spot without needing assistance. This fosters independence and boosts their confidence, especially for dogs who may feel insecure about their mobility.
- Prevent Injuries: Sudden jumps can lead to accidental injuries like sprains, strains, or even fractures. A ramp provides a safe and controlled way to navigate different levels in your home.
- Extend Snuggle Time: Let's face it, we love having our dogs in bed with us. A ramp ensures they can join us for cuddles whenever they please, without the risk of hurting themselves.
Planning Your Dog Ramp: Measurements and Design
Before you start sawing and hammering, careful planning is crucial. Accurate measurements and a well-thought-out design will ensure a safe, functional, and aesthetically pleasing ramp.
1. Measure the Height:
The first step is to accurately measure the height of your bed from the floor to the top of the mattress. This will determine the overall height of your ramp. Precision is key here, so use a measuring tape and double-check your measurements.
2. Determine the Ramp Length:
The length of your ramp is just as important as the height. A general rule of thumb is to aim for a gradual incline to make it easy for your dog to climb. A steeper incline can be challenging, especially for smaller or older dogs. A good starting point is to use a ratio of 2:1 or 3:1 (length:height). For example, if your bed is 24 inches high, your ramp should be at least 48-72 inches long.
3. Decide on the Ramp Width:
The width of your ramp will depend on the size of your dog. A wider ramp will provide more stability and make it easier for your dog to balance. For small dogs, a width of 12-14 inches may suffice. For medium to large dogs, aim for 16-20 inches or more.
4. Choose Your Ramp Style:
Dog ramps come in various styles, including:
- Fixed Ramp: A simple, stationary ramp that is permanently positioned next to the bed.
- Folding Ramp: A ramp that can be folded for easy storage when not in use. These are great for small spaces.
- Adjustable Ramp: A ramp with adjustable height settings to accommodate different bed heights.
Consider your space constraints and your dog's needs when choosing a ramp style.
5. Select Your Materials:
The most common materials for building a dog ramp are wood (plywood, lumber), carpet, and hardware (screws, nails, brackets). Choose high-quality materials that are sturdy, durable, and safe for your dog. Avoid using treated lumber, as it may contain chemicals that are harmful to pets. Softwood like pine is easier to work with, you can find a guide to pine wood here: [externalLink insert]
Gathering Your Tools and Materials: The Checklist
Having the right tools and materials on hand will make the construction process much smoother and more efficient. Here's a comprehensive checklist:
Tools:
- Measuring tape
- Pencil
- Saw (circular saw, jigsaw, or hand saw)
- Drill with drill bits
- Screwdriver
- Staple gun
- Sandpaper
- Safety glasses
- Work gloves
Materials:
- Plywood or lumber (for the ramp frame and surface)
- Carpet or non-slip material (for the ramp surface)
- Screws or nails
- Wood glue
- Carpet staples
- Wood filler (optional, for filling gaps and imperfections)
- Paint or stain (optional, for finishing the ramp)
- Brackets or supports (optional, for added stability)
Step-by-Step Construction Guide: Building Your Dog Ramp
Now that you have your plan, tools, and materials, it's time to start building! Follow these step-by-step instructions to create a safe and sturdy dog ramp for your high bed.
Step 1: Cut the Wood
Using your measurements, cut the plywood or lumber into the following pieces:
- Two side panels (same length and height)
- One ramp surface (same length and width)
- Support braces (number and size depending on ramp length)
Ensure accurate cuts for a professional-looking ramp. A circular saw will provide the cleanest cuts, but a jigsaw or hand saw can also be used.
Step 2: Assemble the Frame
Attach the side panels to the ramp surface using wood glue and screws or nails. Make sure the frame is square and sturdy. Add support braces along the length of the ramp for added stability, especially for longer ramps or larger dogs. Space the braces evenly and secure them with glue and screws.
Step 3: Sand the Surfaces
Use sandpaper to smooth all the edges and surfaces of the ramp. This will prevent splinters and ensure a comfortable surface for your dog to walk on.
Step 4: Apply the Carpet or Non-Slip Material
Cut the carpet or non-slip material to the size of the ramp surface, plus a few inches extra on each side. Apply wood glue to the ramp surface and carefully lay the carpet on top. Use a staple gun to secure the carpet to the frame, pulling it taut to avoid wrinkles or bunching. Trim any excess carpet.
Step 5: Add Finishing Touches (Optional)
If desired, you can paint or stain the ramp to match your bedroom decor. Use a pet-safe paint or stain and allow it to dry completely before allowing your dog to use the ramp. You can also add decorative trim or molding to the ramp for a more polished look.
Step 6: Test the Ramp
Before letting your dog use the ramp, test it yourself to ensure it is stable and secure. Check for any loose screws or staples and make sure the surface is non-slip.
Training Your Dog to Use the Ramp: Patience and Positive Reinforcement
Once your ramp is built, you'll need to train your dog to use it. This may take some time and patience, but with positive reinforcement, most dogs will learn to use the ramp quickly. Here are some tips:
- Introduce the Ramp Gradually: Start by placing the ramp flat on the floor and encouraging your dog to walk across it. Use treats and praise to reward them.
- Elevate the Ramp Slowly: Gradually elevate the ramp, a few inches at a time, until it reaches the desired height. Continue to use treats and praise to encourage your dog to climb.
- Use a Leash for Guidance: If your dog is hesitant, use a leash to guide them up and down the ramp.
- Make it Fun: Turn the training into a game by tossing treats or toys onto the ramp.
- Be Patient and Consistent: Don't get discouraged if your dog doesn't learn to use the ramp immediately. Be patient and consistent with your training, and they will eventually get the hang of it.
Safety Considerations: Ensuring Your Dog's Well-Being
Safety is paramount when building and using a dog ramp. Here are some important safety considerations:
- Non-Slip Surface: Make sure the ramp surface is non-slip to prevent your dog from slipping and falling. Carpet, rubber mats, or textured paint can provide good traction.
- Sturdy Construction: Build the ramp with high-quality materials and ensure it is sturdy and stable. Avoid using flimsy materials that could collapse under your dog's weight.
- Gradual Incline: A gradual incline will make it easier and safer for your dog to climb. Avoid steep inclines that could strain their joints.
- Proper Width: A wide enough ramp will provide more stability and prevent your dog from falling off the sides.
- Supervise Initially: Supervise your dog when they first start using the ramp to ensure they are comfortable and confident.
Troubleshooting Common Issues: Tips and Solutions
Even with careful planning and execution, you may encounter some challenges during the construction or training process. Here are some common issues and their solutions:
- Ramp is Too Steep: If your ramp is too steep, try lengthening it to create a more gradual incline. You can also add additional support braces to increase stability.
- Dog is Afraid of the Ramp: If your dog is afraid of the ramp, start by placing it flat on the floor and gradually elevate it over time. Use treats and praise to encourage them.
- Ramp is Slippery: If the ramp surface is slippery, add a non-slip material such as carpet or rubber mats.
- Ramp is Wobbly: If the ramp is wobbly, add additional support braces or brackets to increase stability.
Alternative Solutions: When DIY Isn't an Option
If you're not comfortable building your own dog ramp, or if you simply don't have the time or resources, there are many commercially available dog ramps that you can purchase. These ramps come in various styles, sizes, and materials to suit your needs and your budget. Some popular options include:
- PetSafe CozyUp Bed Ramp: A popular choice with carpeted steps and a sturdy design.
- Richell Convertible Pet Ramp/Steps: This ramp can be converted into steps, offering versatility.
- Alpha Paw PawRamp: Designed for small dogs, this ramp is adjustable and features a non-slip surface.
Conclusion: A Comfortable Climb to a Happier Dog
Building a dog ramp for your high bed is a rewarding project that will significantly improve your dog's quality of life. By following these step-by-step instructions and safety guidelines, you can create a safe, functional, and stylish ramp that seamlessly integrates into your home. No more struggling, no more worrying, just a comfortable climb to a happier, healthier dog. So grab your tools, gather your materials, and get ready to embark on this fulfilling DIY adventure. Your furry friend will thank you for it!